
Description
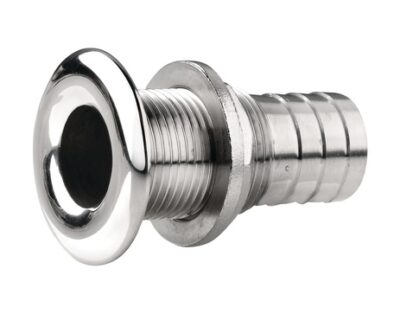
Unlike conventional domed and flush-style thru-hull fittings which decrease hull performance due to the drag they create, Flowtech valves (when closed) eliminate protrusions and cavities that disturb the even flow of water along the hull surface. A smooth, unbroken hull surface is especially important to racing sailboats that need every edge they can get in light airs.
Cruising sailboats and powerboats can also benefit from Flowtech valves, with reduced fuel consumption and shortened times to destination arrival.
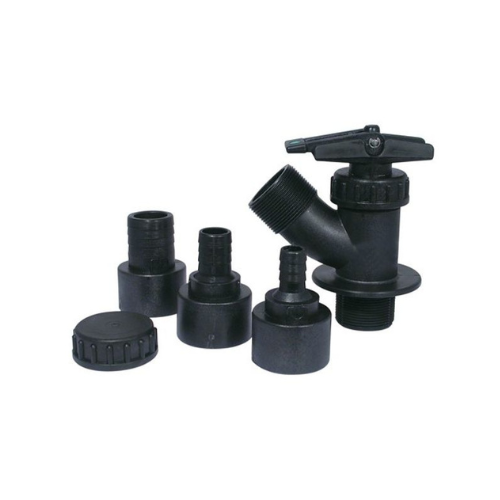
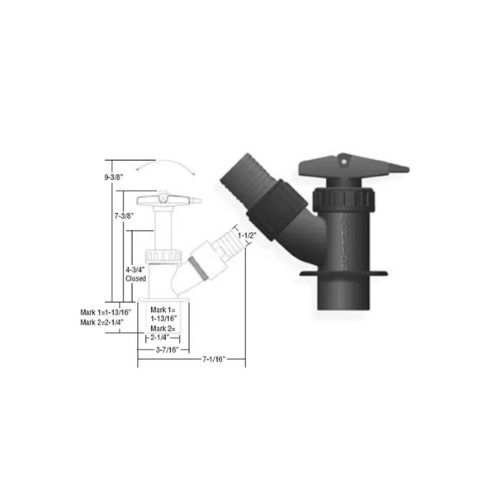
Forespar Mk1 Flowtech free flow sea valves incorporate the valve body, thru-hull and the choice of all three sizes of hose pipe connectors all in one set. These high performance valves are available for 3/4″ (19.05mm), 1″ (25.14mm) & 1-1/2″ (38.1mm) hose sizes.
The Flowtech valve can be faired smooth to the boats outer skin so that when the valve is closed, the internal plunger and valve pipe creates a flush, fair and fast outer surface. Made of Marelon.
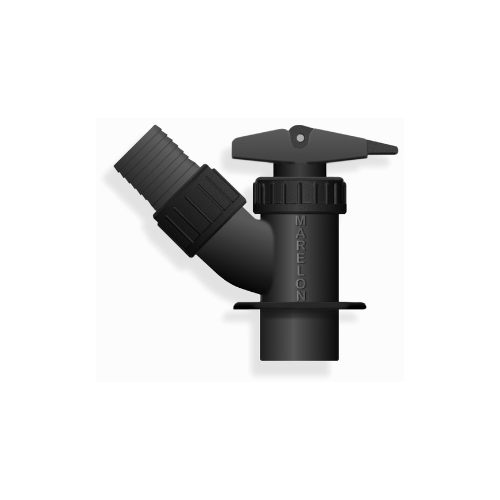
Forespar 905106
Installation Instructions
When properly installed, the design characteristic of these valves, in their closed position, provides a smooth unbroken surface on the outside of the hull.
There will be no protrusions or cavities to disturb the even flow of water along the hull surface.
The following installation method is one used by quality builders familiar with these types of
valves.
Provide a 1-7/8” (48mm) hole in the hull with a reasonably flat internal surface where the inner
hull will interface with the valve’s flange. Be sure the valve is in the closed and locked position
and the surfaces to be bonded are clean and free of any contaminate that may have gotten on the
valve. Wipe boning surfaces with acetone.
Prepare a bedding compound of Cabacill and resin, polyester, vinylester, or epoxy. Spread this
material on all hull and valve surfaces that will be interfacing. Be sure to work the compound well into
the inside surfaces of the hole in the hull and into the ribs of the valve Insert the valve into the hole
and make sure that at least a small amount of the compound squeezes out from under the flange
of the valve body. Do not press the valve against the hull hard enough to flex the flange of the valve
body. Do not press the valve against the hull hard enough to flex the flange as this could result in
voids being created when the flange is allowed to spring back to its normal form.
Follow this with four or five laminations of 17oz. “E-Glass” and resin of the type used for the
hull lay-up. The polyester, vinylester, and epoxy resins bond very well to the Marelon valve material.
Make each successive layer of glass larger in diameter until the final lamination extends a minimum
of 3” beyond the edge of the valve flange.
When all resins are cured, the portion of the valve that extends beyond the outer hull
surface must be disked off a minimum of 1/2” to a smooth flush surface. The valve must be in
fully closed and locked position when doing this final finishing procedure. This will allow the piston to
be fully open and not partially blocked the exit port.
A minimum of 5/8” bury (hull thickness) is required on both the #905106 and #905109 Flowtech valves for proper installation. This bury can be in the backing block inside the hull.